E-mail account settings
Any changes you make to e-mail settings affect the way your e-mail is sent and received.
Press Menu, select
Tools
>
Account settings...
, and press
Create new
.
Scroll to the type of account that you want to create, and press
OK
.
Tip: You can create
or
Remote e-mail
accounts. When you create an e-mail to send from your Nokia 9300i, you
use the e-mail account. When you synchronize the device with Nokia PC Suite, you use the remote e-mail account.
M e s s a g i n g
Copyright © 2005-2006 Nokia. All Rights Reserved.
30
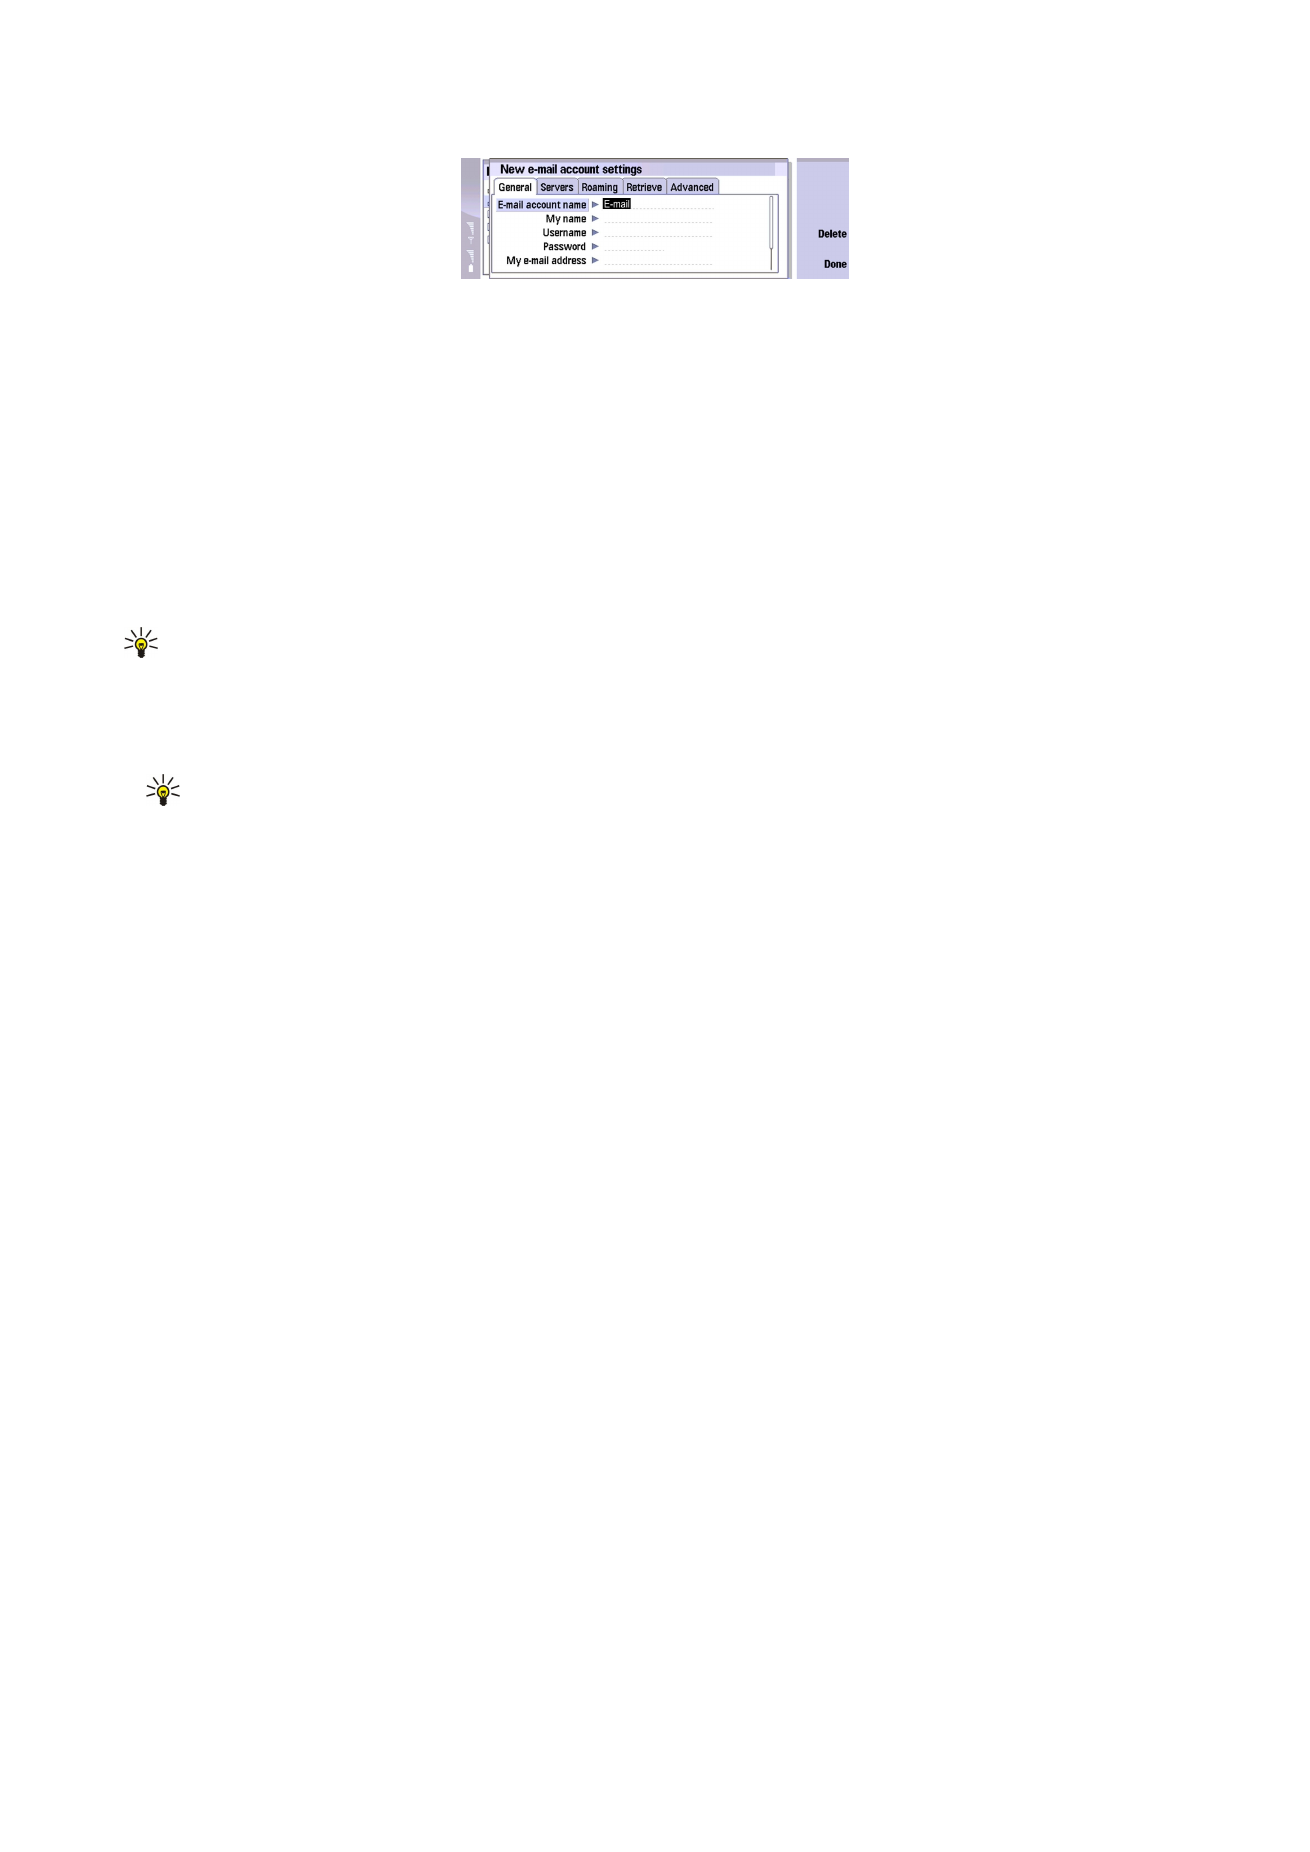
You need to define settings only for e-mail accounts.
Define the following on the
General
page:
•
E-mail account name
— Enter a descriptive name for the connection. Note that the maximum length of the name is 25
characters.
•
My name
— Enter your name.
•
Username
— Enter your user name, given to you by your service provider.
•
Password
— Enter your password. If you leave this field blank, you will be prompted for a password when you try to connect
to your mailbox.
•
My e-mail address
— Enter the e-mail address given to you by your service provider. The address must contain the @ character.
Replies to your messages are sent to this address.
•
Internet access
— Select the Internet access point that you want to use.
•
Default account
— If you have created several e-mail accounts, select the e-mail account you want to use as the default
account.
Tip: When you write the e-mail, the account that is used to send the e-mail is shown under the e-mail icon next to the
recipient and subject information.
Define the following on the
Servers
page:
•
E-mail account type
— Select the e-mail protocol your remote mailbox service provider recommends. Note that this setting
can be selected only once and cannot be changed if you have saved or exited from the mailbox settings.
Tip: POP3 is a version of Post Office Protocol, a standard protocol for receiving e-mail from your remote server. With
POP3, you can check your remote mailbox and download your e-mail. IMAP4 is a version of Internet Message Access
Protocol, a standard protocol for accessing e-mail on your remote server. With IMAP4, you can conduct searches,
create, delete and manage messages and folders on the server.
•
Outgoing e-mail server
— Enter the IP address or host name of the computer that sends your e-mail.
•
Incoming e-mail server
— Enter the IP address or host name of the computer that receives your e-mail.
•
Use SMTP authentication
— Select whether the SMTP (Simple Mail Transfer Protocol) server requires authentication, and enter
the SMTP user name and password.
Define the following on the
Roaming
page:
•
Change connection automatically
— Select whether you want the device to switch between connections automatically if
connection to the primary Internet access point is lost.
•
Second access
,
Third access
, and
Fourth access
— Define the other possible Internet access options.
Define the following on the
Retrieve
page:
•
Retrieve
— Select whether you want to retrieve only the e-mail header information such as sender, subject and date, e-mails,
or e-mails with their attachments.
•
Max. size of e-mail
— Define how large e-mails are retrieved to your device.
•
Sync. e-mails in Inbox
— Select the number of e-mails you want to download from the remote server to your Inbox.
•
Sync. e-mails in folders
— Select the number of e-mails you want to download from the remote server to your folders.
Define the following on the
Advanced
page:
•
Default e-mail type
— Select whether to sent e-mail as
Plain text
,
Plain text (no MIME)
if the receiving e-mail system cannot
display e-mail sent in the regular Internet format, or
Formatted text (HTML)
to be able to use enhanced text formatting
options.
•
Send e-mail
— Select
Immediately
to send the e-mail as soon as possible,
During next connection
to send it the next time
you retrieve e-mail, or
Upon request
to store the e-mail in the Outbox, from where you can send it later.
•
Include signature
— Select whether you want to use a signature. Select
Use my contact card
to use the contact card in the
device, or
Custom
to use a signature file that you can create for the e-mail account.
•
Request read report
— Select whether you want to receive a note when the recipient has opened your e-mail.
•
Allow report requests
— Select whether you want the sender of the e-mail to receive a note that you have read the e-mail.
•
Copy to my e-mail address
— Select whether you want to receive a copy of every e-mail you send.
•
Secure login (APOP)
— Select whether you want to use a POP3 secure login system, if the POP3 server you use supports this
system.
•
Incoming secure connection
— Select whether you want to use encryption to make the incoming connection secure. Secure
connection is used with POP3 and IMAP4 protocols to secure the connection to a remote mailbox. Note that the remote server
must support secure connections for this function to work.
M e s s a g i n g
Copyright © 2005-2006 Nokia. All Rights Reserved.
31

•
Outgoing secure connection
— Select whether you want to use encryption to make the outgoing connection secure. Secure
connection is used with the SMTP protocol to secure the connection to a remote mailbox. Note that the remote server must
support secure connections for this function to work.
•
IMAP4 folder path
— Enter the path to the IMAP4 inbox location in case the server cannot open it automatically. Normally
you do not need to define the path.
To edit an existing account, select the account type that you want to edit, and press
Edit
.